
 English
 中文
 日本語
 한국어
 العربية
 Русский
 Português
 Türkçe
 हिन्दी
 Tiếng Việt
 ไทย
 Indonesia
 Melayu
 ខ្មែរ
 ລາວ
 မြန်မာ
 Afrikaans
 Hausa
 Igbo
 Sesotho
 isiXhosa
 Yorùbá
 isiZulu
Get the restaurant seating layout wrong and it does not just cost you table turns — it costs you revenue every single service, for as long as the restaurant operates. A table placed 6 inches too close to a server station slows down service for four tables simultaneously. A 2-top placed in a zone designed for 4-tops reduces cover capacity by 30% in that section. A 60-seat restaurant running an inefficient floor plan can lose thousands of dollars in revenue every month — from slower table turns, wasted floor space, and covers the layout simply cannot accommodate during peak service.
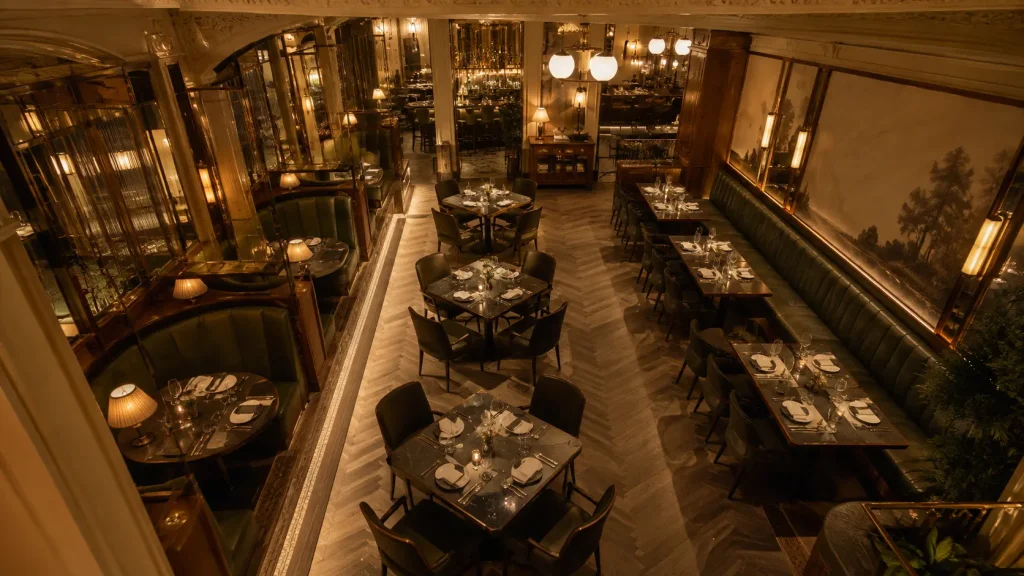
Most operators do not discover these problems until the restaurant is open and the floor plan is permanently fixed. By then, the fix costs tens of thousands of dollars in construction, lost revenue during renovation, and the compounding damage of poor service reviews in the interim.
This guide walks through the restaurant seating layout process in five steps — from calculating total cover capacity to choosing the right table mix, spacing standards, accessibility requirements, and venue-specific configuration. Each step is a decision point where the right choice compounds into better service, higher turnover, and stronger reviews.
At MingMeng, we work with restaurant owners, designers, and contractors across the USA, Australia, and Southeast Asia on booth and table configurations for exactly these kinds of projects. The standards below reflect what we’ve learned coordinating booth dimensions, table mix, and spacing requirements across full-service, fast-casual, and hospitality venues.
Step 1: Calculate Your Target Cover Capacity
Before choosing a single table, you need to know how many covers the space can realistically support — and how that number breaks down by table size. This is not guesswork. There are industry-standard formulas.
The Square Footage Method
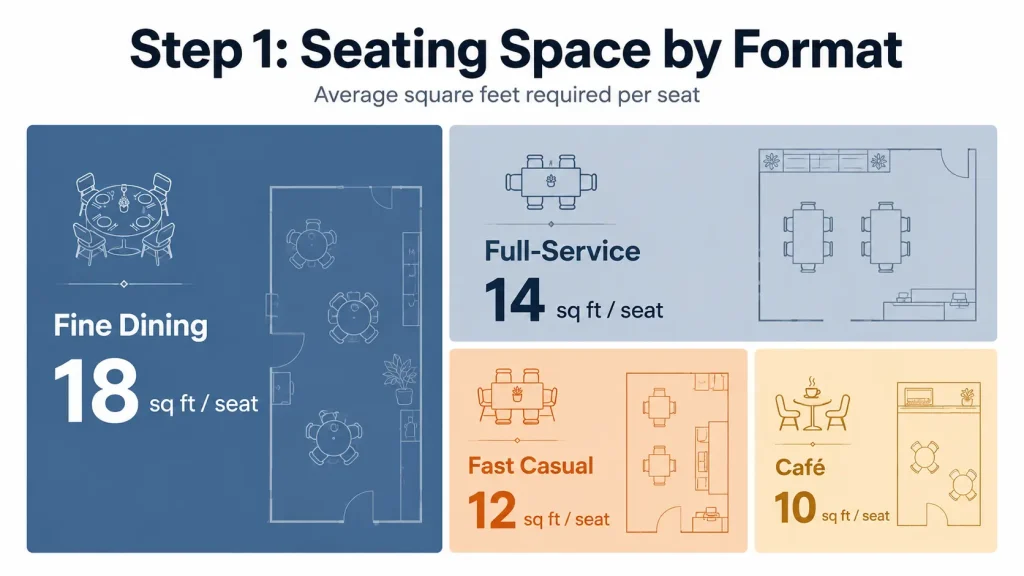
The baseline: a full-service restaurant averages 18–22 square feet (1.7–2.0 ㎡) per cover when using a mix of 2-tops, 4-tops, and some larger tables. Higher-density concepts (fast casual, food halls) can compress to 12–15 sq ft per cover. Fine dining requires more space per guest: 22–28 sq ft per cover for comfort and service clearance.
| Concept Type | Sq Ft per Cover | 1,000 sq ft Capacity | 1,500 sq ft Capacity |
|---|---|---|---|
| អាហារឆ្ងាញ់ | 22–28 sq ft | 36–45 covers | 54–68 covers |
| Full-Service Casual | 18–22 sq ft | 45–55 covers | 68–82 covers |
| Fast Casual / QSR | 12–15 sq ft | 67–83 covers | 100–125 covers |
| Café / Coffee Shop | 15–18 sq ft | 55–67 covers | 83–100 covers |
Calculate Your Table Mix
Total cover capacity tells you the ceiling. Your table mix tells you how to hit it. The industry benchmark for a casual full-service restaurant is a roughly even split between 2-tops and 4-tops, with 10–15% of seats in larger configurations (6-tops, 8-tops, or banquettes).
A 65-cover restaurant targeting this mix should target approximately:
| Table Size | Number of Tables | Total Covers | % of Floor |
|---|---|---|---|
| 2-tops | 8–10 | 16–20 | 25–31% |
| 4-tops | 8–10 | 32–40 | 49–62% |
| 6-tops / banquette | 2–3 | 12–18 | 18–27% |
| Total | 18–23 | 60–78 | 100% |
The range exists because every floor plan has unusable dead space — corners, columns, service station footprints. Build for 80% of the theoretical maximum. You will thank yourself during a 70% capacity Saturday rush.
Step 2: Choose Your Table Type Mix
The table types in your floor plan are not interchangeable furniture decisions. Each configuration carries service implications, acoustic properties, noise management characteristics, and different revenue-per-table profiles.
Booths vs. Freestanding Tables vs. Banquettes
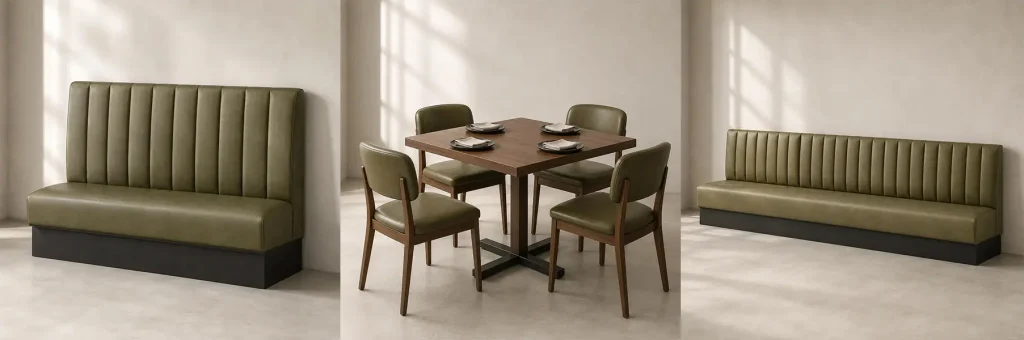
These three configurations dominate commercial restaurant seating. The choice is not aesthetic — it is operational.
| Factor | Booths | Freestanding Tables | Banquettes |
|---|---|---|---|
| Space efficiency | High (less circulation space needed per seat) | Moderate | Very High |
| Privacy / acoustics | Excellent (each bay is self-contained) | Poor (sound propagates freely) | Good |
| Flexibility | None — fixed layout | High — can reconfigure | Low — fixed |
| Guest preference | Preferred by couples, older diners | Preferred by groups, families | Neutral |
| Service speed | Slower (server reaches in) | Faster (360° access) | Moderate |
| Installation cost | Higher (built-in) | Lower (FF&E) | Moderate–High |
| Best for | 40–60% of perimeter seating | Center floor, high-turn tables | Perimeter, high-density zones |
The practical rule: Use booths along perimeter walls (40–60% of total seating). Use freestanding tables in the center floor area for flexibility and faster table turns. Use banquettes in high-density zones where you need maximum covers per square foot.
As a manufacturer that produces both custom booth seating and freestanding តុភោជនីយដ្ឋាន, we typically recommend confirming your booth-to-table ratio before finalizing dimensions — booth length and backrest height are far easier to adjust in the design phase than after production begins.
Table Shape: Round vs. Rectangle vs. Square
| Shape | Best For | Issues |
|---|---|---|
| Rectangle (2:1 ratio) | 2-tops, 4-tops, long banquette fronts | Standard industry choice for most configurations |
| ការ៉េ | Small spaces, 2-tops | Limits larger party seating |
| ជុំ | Group tables, lounge seating | Takes more floor space for same cover count |
| Clam / bow front | Booths | Maximizes usable surface in limited depth |
For a standard casual dining restaurant, rectangular tables in 2:1 length-to-width ratios handle 80% of dining situations effectively. Tabletop shape is only part of the decision. The position and footprint of មូលដ្ឋានតុភោជនីយដ្ឋាន also affect legroom, chair placement and whether two smaller tables can be combined efficiently for larger parties.
Step 3: Apply Spacing Standards
Spacing is where most restaurant floor plans fail. Too tight and service quality collapses. Too loose and you lose covers. The industry has clear benchmarks.
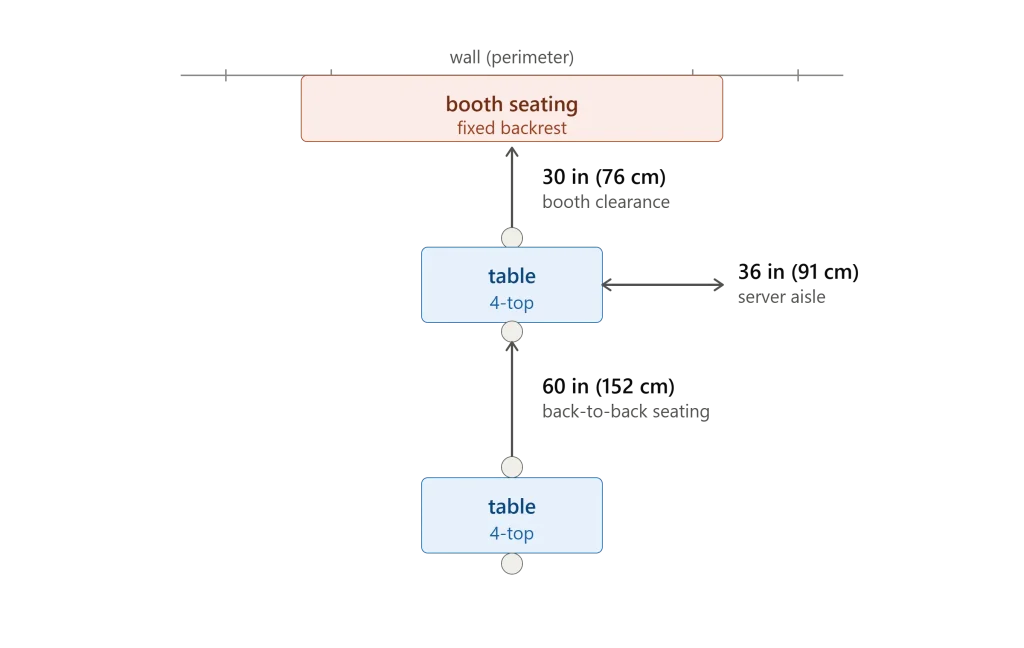
The Three Circulation Zones
Every restaurant floor has three circulation flows that must be planned around:
- Server circulation: The path servers walk between the kitchen and every table, typically 30–36 inches (76–91 cm) minimum clearance for one server, 42 inches (107 cm) minimum for two servers passing.
- Guest circulation: The path guests walk from entry to their table and to the restroom, minimum 36 inches (91 cm), ideally 44 inches (112 cm) for accessible routes.
- Bussing circulation: The path for removing dirty dishes and trays, minimum 30 inches (76 cm), ideally 36 inches (91 cm) in high-volume concepts.
Minimum Spacing Standards
| Zone | Minimum | Recommended | Notes |
|---|---|---|---|
| Between parallel rows of tables | 24″ (61 cm) | 30–36″ | One server can pass |
| Between back-to-back seating | 60″ (152 cm) | 66–72″ | Two guests passing simultaneously |
| Table edge to wall / banquette | 24″ (61 cm) | 30″ | Server access to outside seat |
| Chair back to chair back (facing) | 42″ (107 cm) | 48–54″ | Comfortable dining clearance |
| Table to table (diagonal) | 6″ (15 cm) minimum | 12–18″ | Prevents guest elbow contact |
| Server station to nearest table | 18″ (46 cm) minimum | 24–30″ | Equipment clearance |
Booth layouts require additional coordination between seat depth, table width, backrest height and service clearance. Review the applicable standard restaurant booth dimensions before approving the final booth drawings.
The 30-Inch Rule for Booth Service
In booth seating, the 30-inch (76 cm) clearance between the booth back and the nearest opposing table edge is the single most violated standard in restaurant design. Installing a 4-top table too close to a booth bank forces servers to squeeze between tables, slowing service for every table in that section. Budget an extra 6 inches (15 cm) beyond the minimum wherever possible — it compounds across a full section.
Step 4: Plan Accessibility—ADA and Beyond
Accessibility is not optional, and it should be considered before the restaurant furniture layout is finalized. An accessible dining room can accommodate guests using wheelchairs, mobility devices, strollers and other equipment while supporting clearer circulation for staff and customers.
For restaurant projects in the United States, accessible dining surfaces, clear floor space, knee clearance and table height should be verified against the official 2010 ADA Standards for Accessible Design .
The final restaurant layout should also follow applicable accessible route requirements , including continuous circulation paths and unobstructed access to accessible dining areas.
Requirements vary by country, region and project type. Always validate the final floor plan against applicable local building, fire-safety and accessibility regulations before construction.
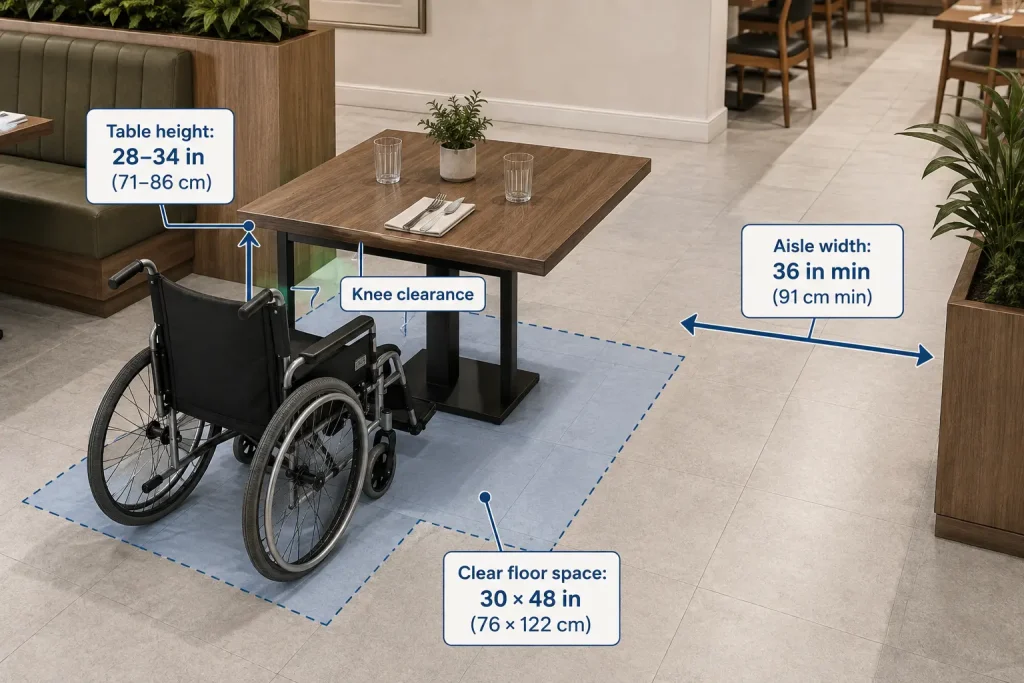
ADA Seating Requirements for Restaurants
| Requirement | Standard | Notes |
|---|---|---|
| Accessible routes | 36″ (91 cm) minimum width | Connects all seating to entrance and restrooms |
| Accessible seating | At least 5% of total seats, minimum 1 | Must be distributed across the dining floor |
| Table height | 28–34″ (71–86 cm) clear knee and toe space | Standard accessible table height |
| Clear floor space | 30″ × 48″ per seating space | For wheelchair access |
| Accessible restrooms | Required | Must connect via accessible route |
| Entry clearance | 32″ (81 cm) minimum door width | At least one primary entrance |
Beyond ADA: Designing for Real Guests
ADA sets the legal floor. Great restaurant seating layout design goes further:
- Place accessible tables in natural flow zones — not in a remote corner that makes guests feel segregated. An accessible 4-top near a window or center section works better than one isolated in the back.
- Two-top accessible tables near the entrance reduce the friction for guests who have difficulty walking long distances.
- Accessible seating near restrooms benefits all guests with mobility needs, including parents with young children.
Step 5: Configure by Venue Type
The same spacing standards apply across restaurant types. The table mix, booth ratio, and restaurant seating layout geometry shift significantly depending on the concept.
អាហារឆ្ងាញ់
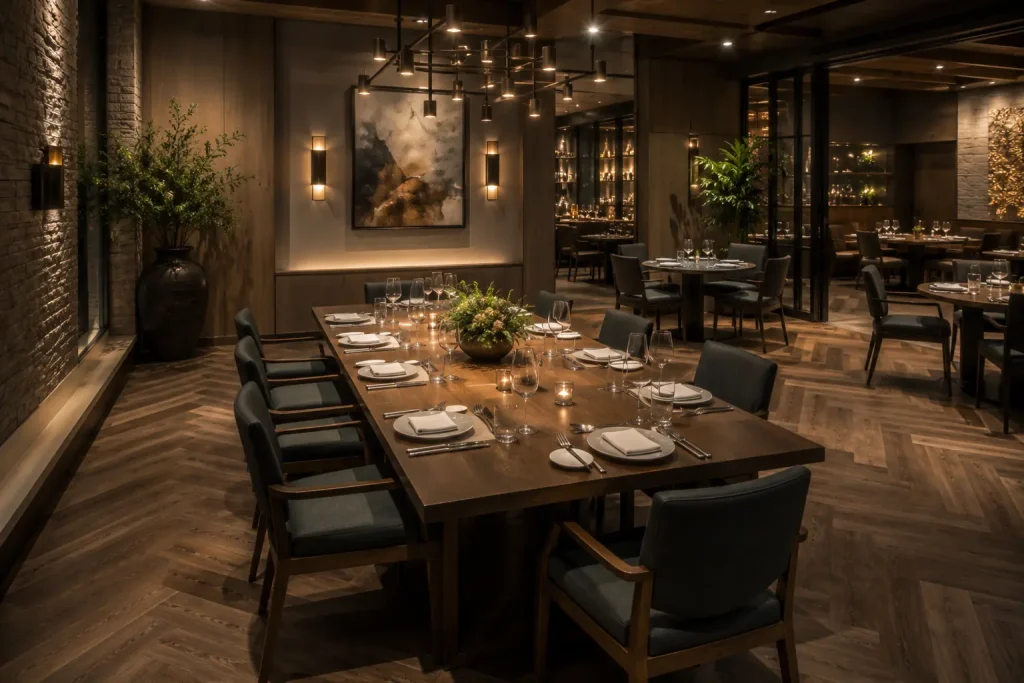
Fine dining demands maximum spacing — guests in no rush, expecting to stay 90–120 minutes. The layout should feel generous even at full capacity.
Configuration: 60–70% freestanding tables, 30–40% booths maximum. Large 8-tops and 10-tops for the dining room centerpiece. No table closer than 60 inches (152 cm) to another. Server stations every 12–15 tables maximum.
Casual and Family Dining
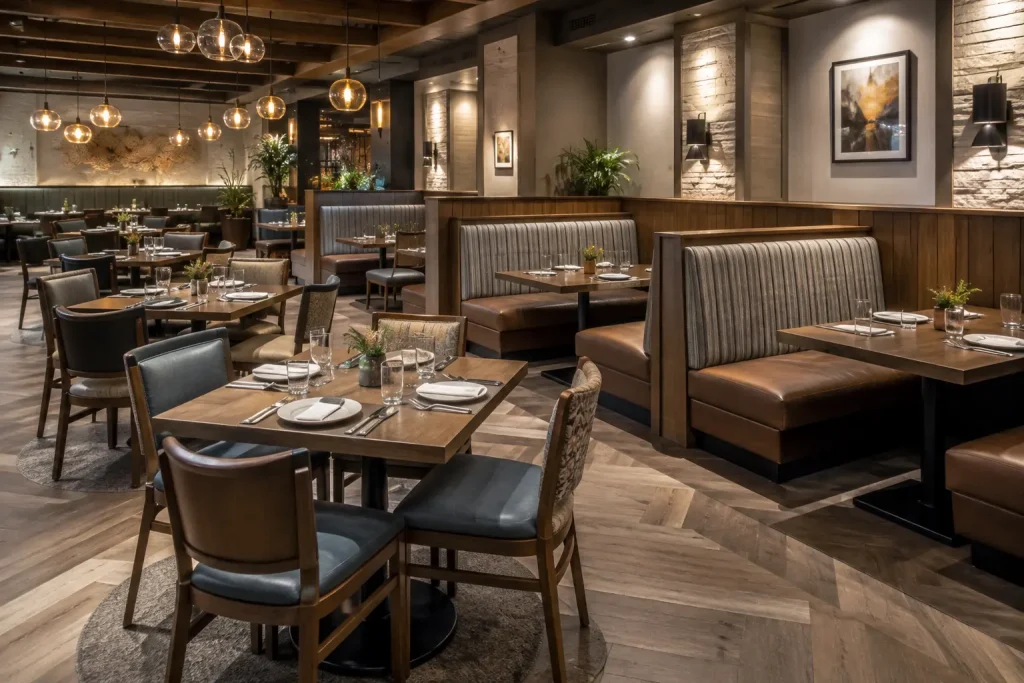
This is the highest-traffic environment and the most unforgiving on layout mistakes. Every extra 6 inches of spacing you can recover is another cover per service.
Configuration: 40–50% booths on perimeter, 40–50% freestanding tables in center floor, 10% larger tables (6-tops, 8-tops). 18–20 sq ft per cover. Higher 2-top density near entrance and bar area for solo diners and couples.
Fast Casual / Counter Service
Fast casual operates on a fundamentally different layout logic: minimal seated dining, maximum throughput for grab-and-go.
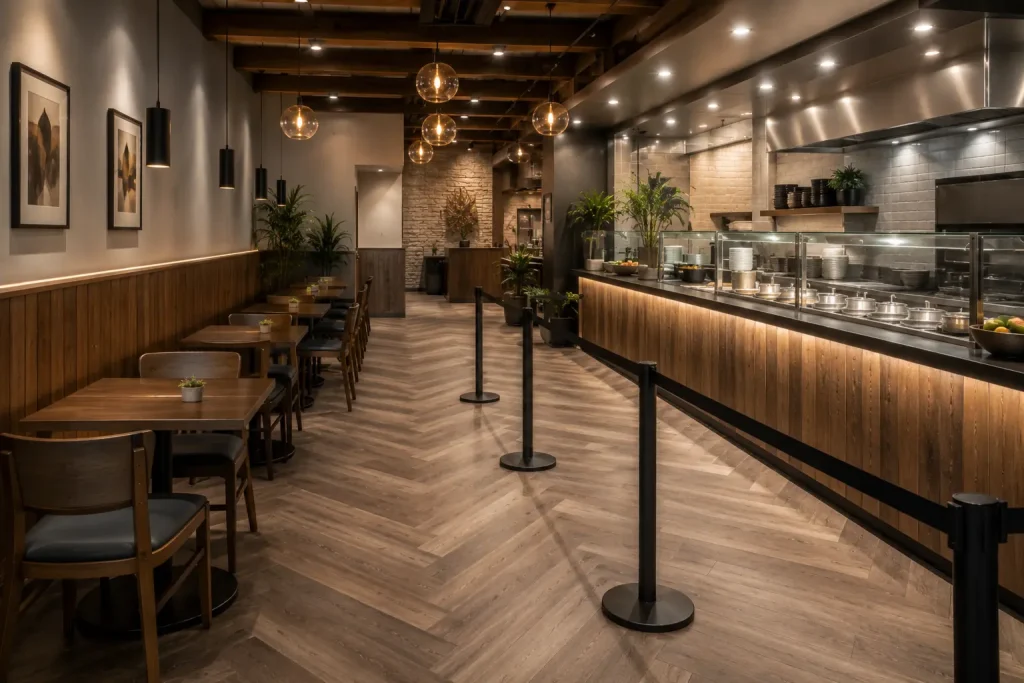
Configuration: 70–80% of floor space dedicated to circulation, queue, and pick-up zones. Seated dining limited to 20–30% of covers, typically 2-tops and high chairs. 12–15 sq ft per cover for the seated zone.
Bar and Lounge
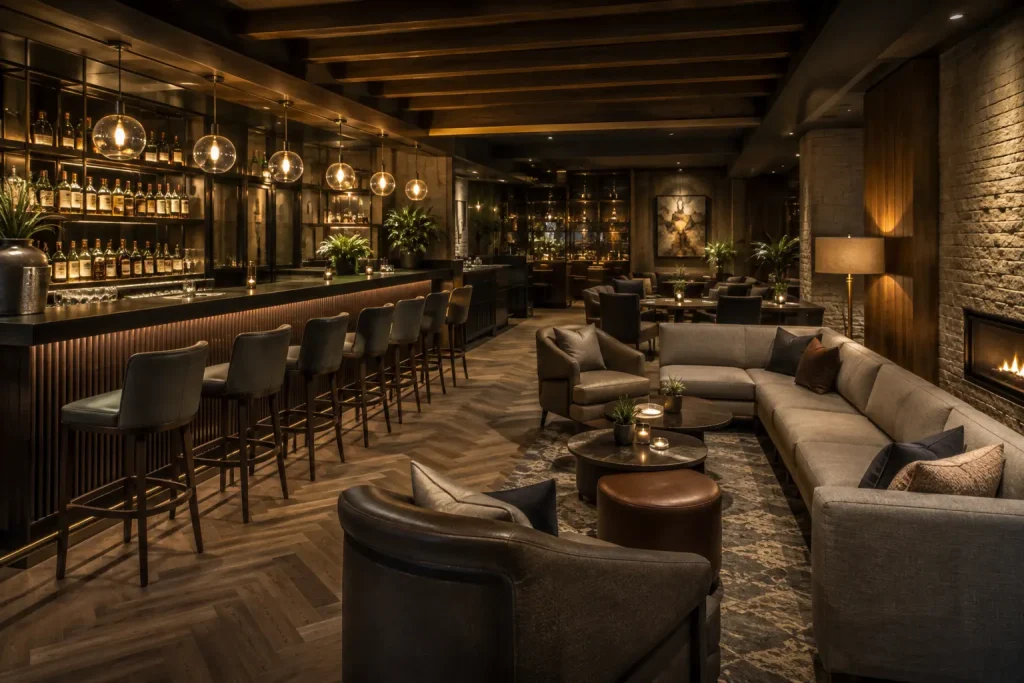
The bar and lounge area operates as a separate revenue center with its own layout logic — designed for standing, leaning, and shorter stays.
Configuration: Bar seating (លាមករបារ, 16–18″ depth, 30–32″ height) along the bar front, supplemented by lounge seating (low tables, deep banquettes, cocktail-height tables at 40–42″). Minimum 44-inch (112 cm) path behind bar stools for server circulation. Lounge tables at 16–20 inches (41–51 cm) height with stools at 24–26 inches (61–66 cm).
Brewpub / High-Energy Social Venue
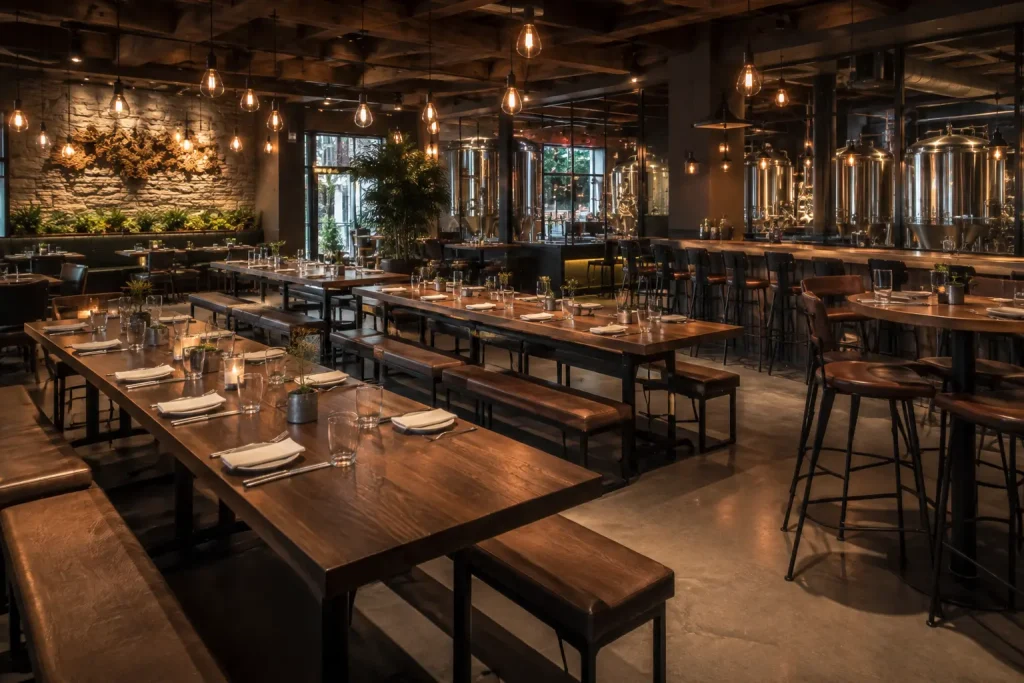
These venues need zones — distinct acoustic and spatial areas that let different groups coexist at different noise levels.
Configuration: Mix of high-tops (standing/social), mid-height 4-tops (groups), and perimeter banquettes (quieter conversations). Large communal tables (8–12 tops) for social energy. Server stations at zone intersections. 16–20 sq ft per cover. Maximum use of booth back heights as natural acoustic dividers.
Common Seating Layout Mistakes to Avoid
These errors appear in restaurant layouts consistently enough that they have become industry tropes. Every one of them has a real revenue cost.
Mistake 1: Designing for the Empty Restaurant
New operators design floor plans when the restaurant is empty. It looks spacious. It feels comfortable. The problem is that restaurants are never empty during service. Design for 85–90% capacity. If the layout only works at 60%, it will fail every Saturday night.
Mistake 2: Ignoring the Server’s Line of Sight
A table that a server cannot see from the station will be served last. Every time. A layout where tables are hidden behind structural columns, room dividers, or wall turns creates systematic service inequality — some tables get great service, others consistently wait longer. Map every table’s sightline to the nearest server station before finalizing the plan.
Mistake 3: One-Size-Table Strategy
Putting the same table configuration throughout the entire floor means every table turns at the same rate. This is a revenue problem: 2-tops at 45-minute turns and 4-tops at 75-minute turns generate different revenue per hour. A mixed table strategy with deliberate placement — 2-tops near the bar for quick turns, 4-tops in center sections, booths for lingerers — generates more revenue per square foot.
Mistake 4: Skipping the Bussing Station Footprint
Dirty dish management is an afterthought in most floor plans. Every 12–15 tables needs a accessible bussing station with at least 18 inches (46 cm) width for tray slides. Forgetting this means servers walk dishes to the kitchen across full sections, slowing service and creating safety hazards.
Mistake 5: No Dedicated Space for Accessibility Equipment
Restaurants that serve older populations, families with strollers, or guests with mobility devices need a clear circulation path that does not force accessible guests to navigate around bussing stations or tray carts. Plan this from the beginning, not as an afterthought.
FAQ:
1. What is the best table size mix for a new restaurant?
For a casual full-service restaurant, target roughly 40–45% 2-tops, 40–45% 4-tops, and 10–20% larger tables (6-tops and up). Place 2-tops near the entrance, bar, and windows for quick turns. Use 4-tops in the center floor for flexibility. Reserve larger tables for perimeter and private dining zones.
2. How much space does each restaurant seat need?
A general full-service restaurant averages 18–22 square feet per cover. Fine dining requires 22–28 sq ft per cover. Fast casual can compress to 12–15 sq ft per cover. Always budget 10–15% above your theoretical maximum to account for dead space and circulation requirements.
3. Should I use mostly booths or mostly tables?
Use both — but in specific zones. Booths belong on perimeter walls (40–60% of total seating) where they maximize space efficiency and provide natural acoustic separation. Freestanding tables belong in center floor areas where flexibility and 360-degree server access matter most.
4. How do I design for both accessibility and revenue?
ADA requires a minimum of 5% accessible seats. Beyond compliance, place accessible tables in natural circulation zones with clear sightlines to the entrance — not in isolated corners. Accessible tables near windows or center sections serve guests better and do not feel segregated from the dining experience.
5. When should I hire a restaurant layout designer?
Hire a professional restaurant designer or architect for any space over 80 seats or any renovation involving structural changes, HVAC re-routing, or ADA-compliant construction. For smaller spaces (under 60 seats) with straightforward layouts, a qualified restaurant consultant can provide layout specifications that your general contractor can implement.
About this guide: This article draws on MingMeng’s experience supplying custom booth seating, dining tables, and bar furniture for commercial restaurant projects across the USA, Australia, Singapore, and India. Always validate your floor plan against local health codes, fire marshal requirements, and ADA specifications with a licensed professional before construction.
Planning a new restaurant floor plan? MingMeng supports OEM and ODM production for custom booth seating, dining tables, and bar furniture — coordinated to your table mix, spacing requirements, and venue type.
Contact us for a project-based quotation.
Related Guides: Restaurant Seating Layout Ideas for 2026 · Small Restaurant Seating Layout Guide